What to Expect at a Silver Class in Bali, Step by Step
· Updated · 5 min read
At a silver class in Bali you sit at a workbench with a Balinese silversmith and turn raw silver into a finished ring, pendant or pair of earrings in one to two hours. You design the piece, melt and roll the silver, saw, shape and solder it, then polish it to a shine and wear it home the same day. No experience is needed: the silversmith guides every step and handles the flame until you are ready.
Here is what a session at Bali Jewelry House in Uluwatu looks like from the moment you arrive.
Arriving at The House
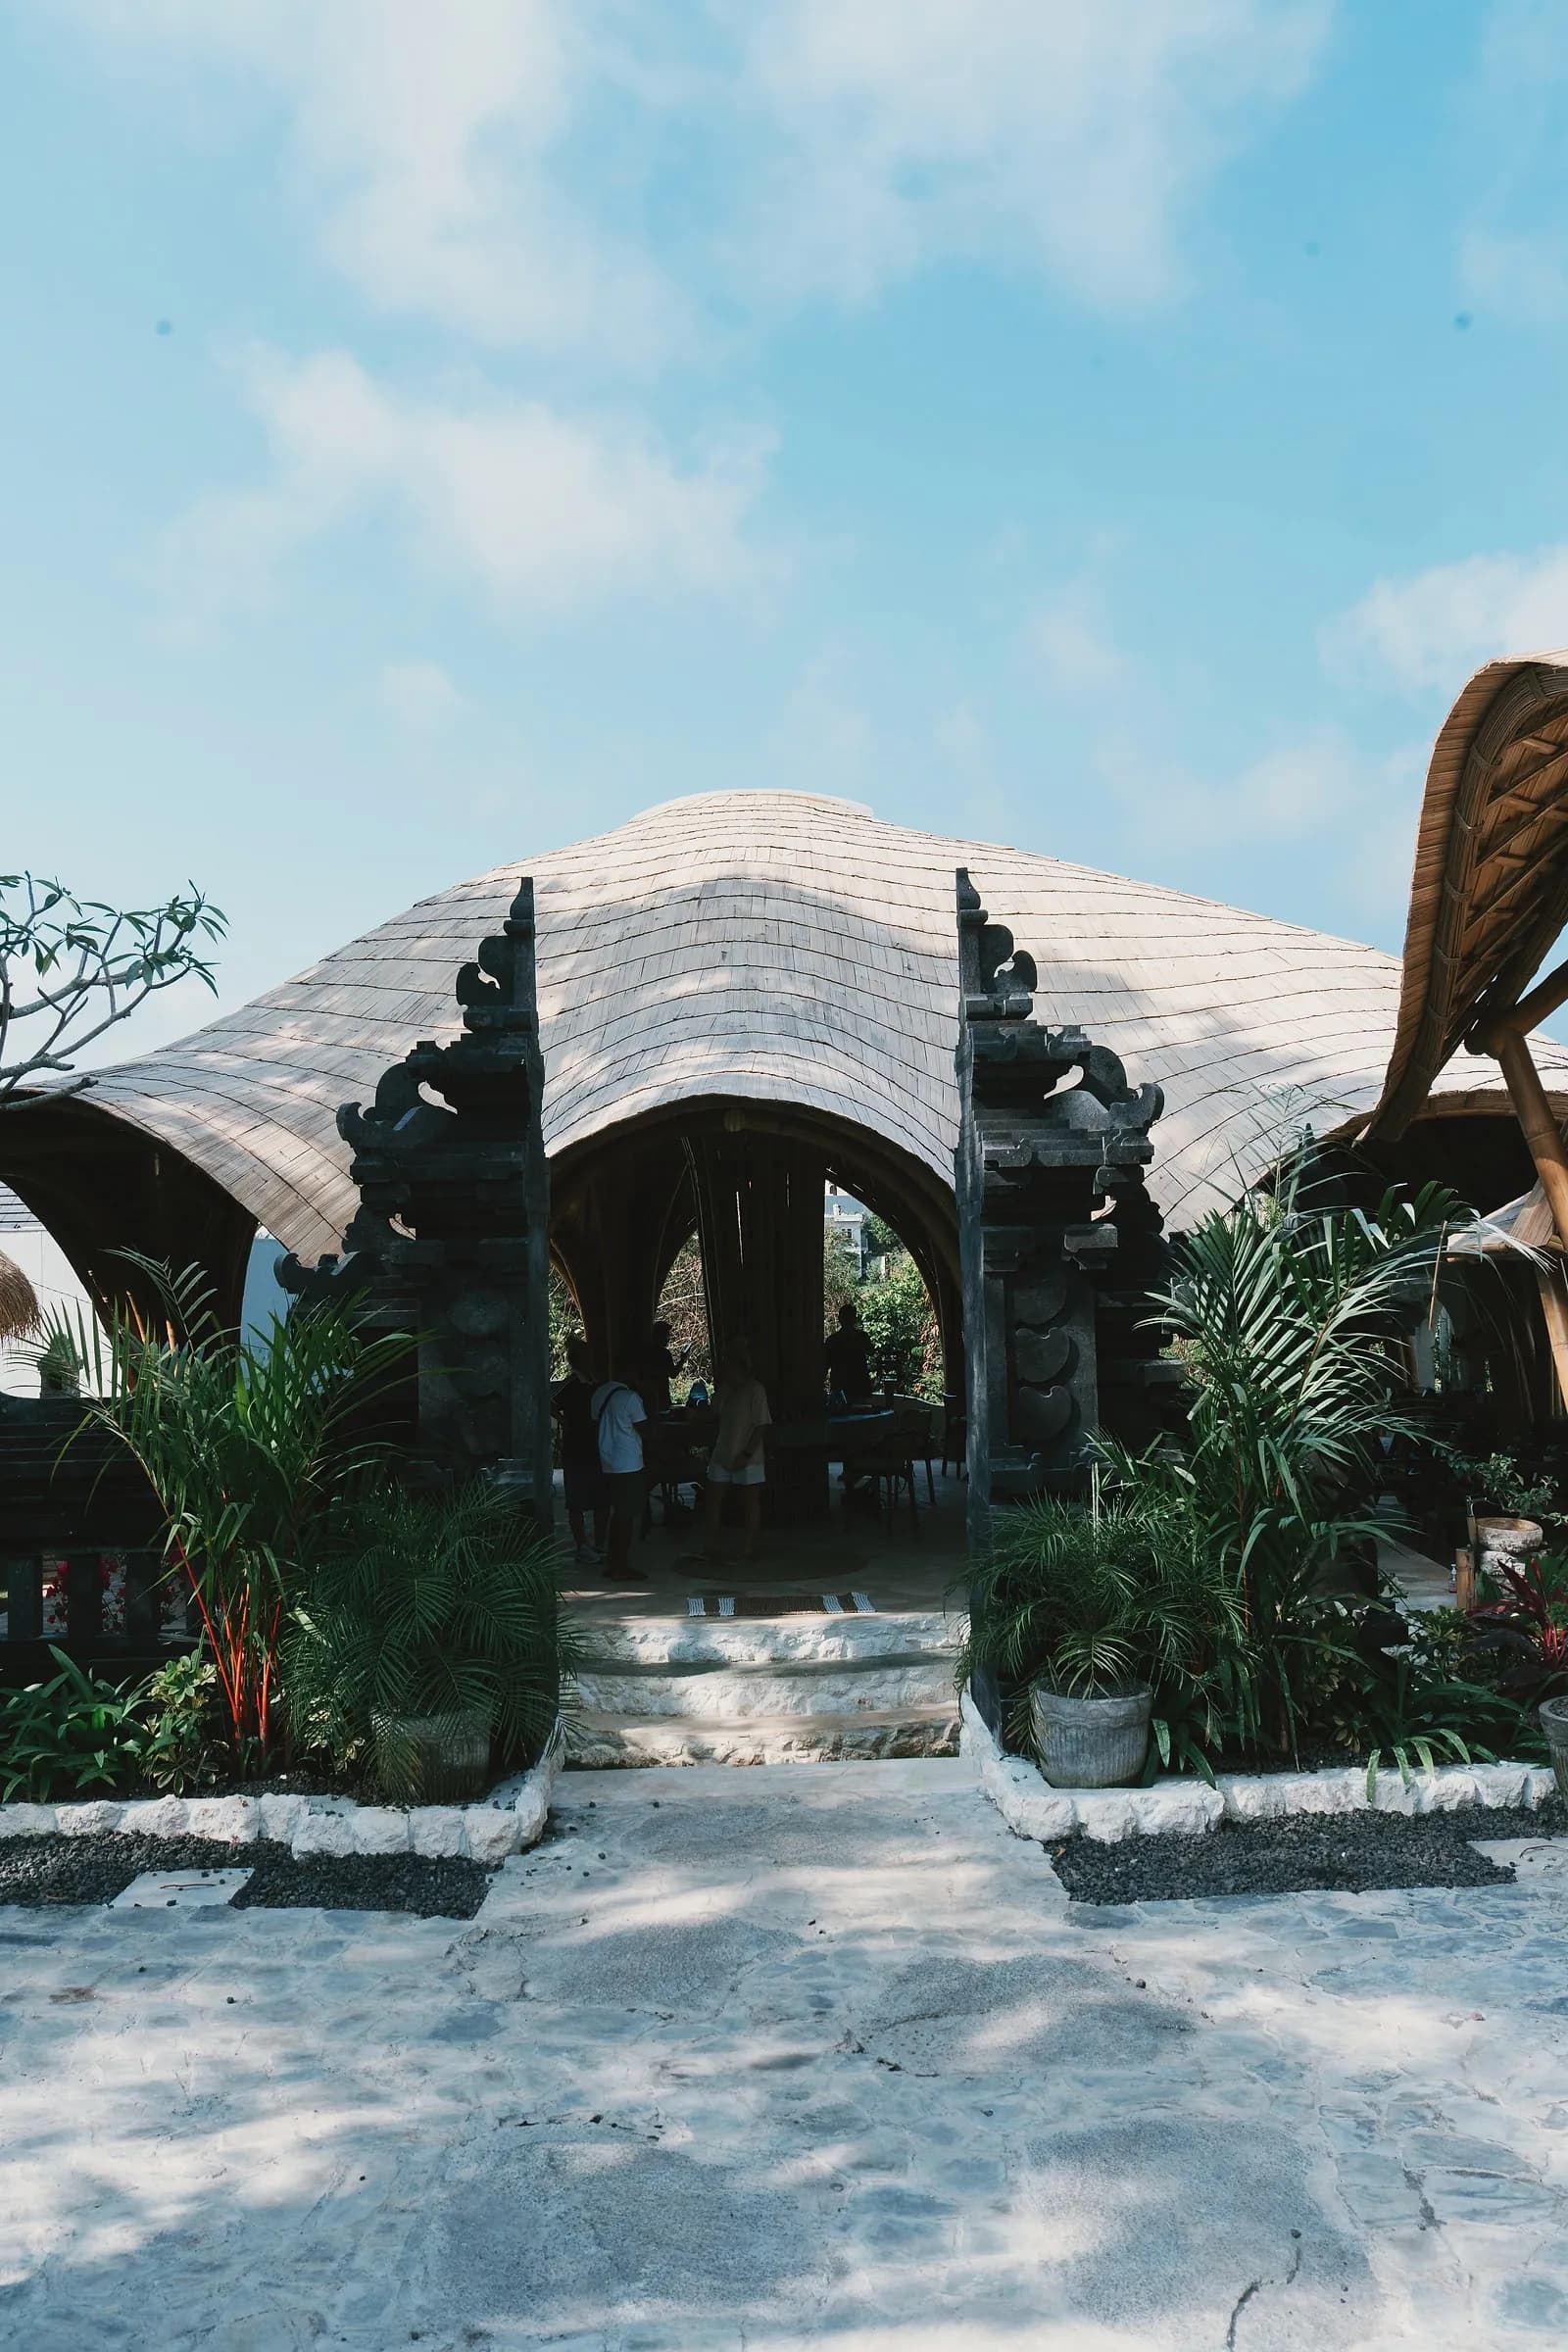
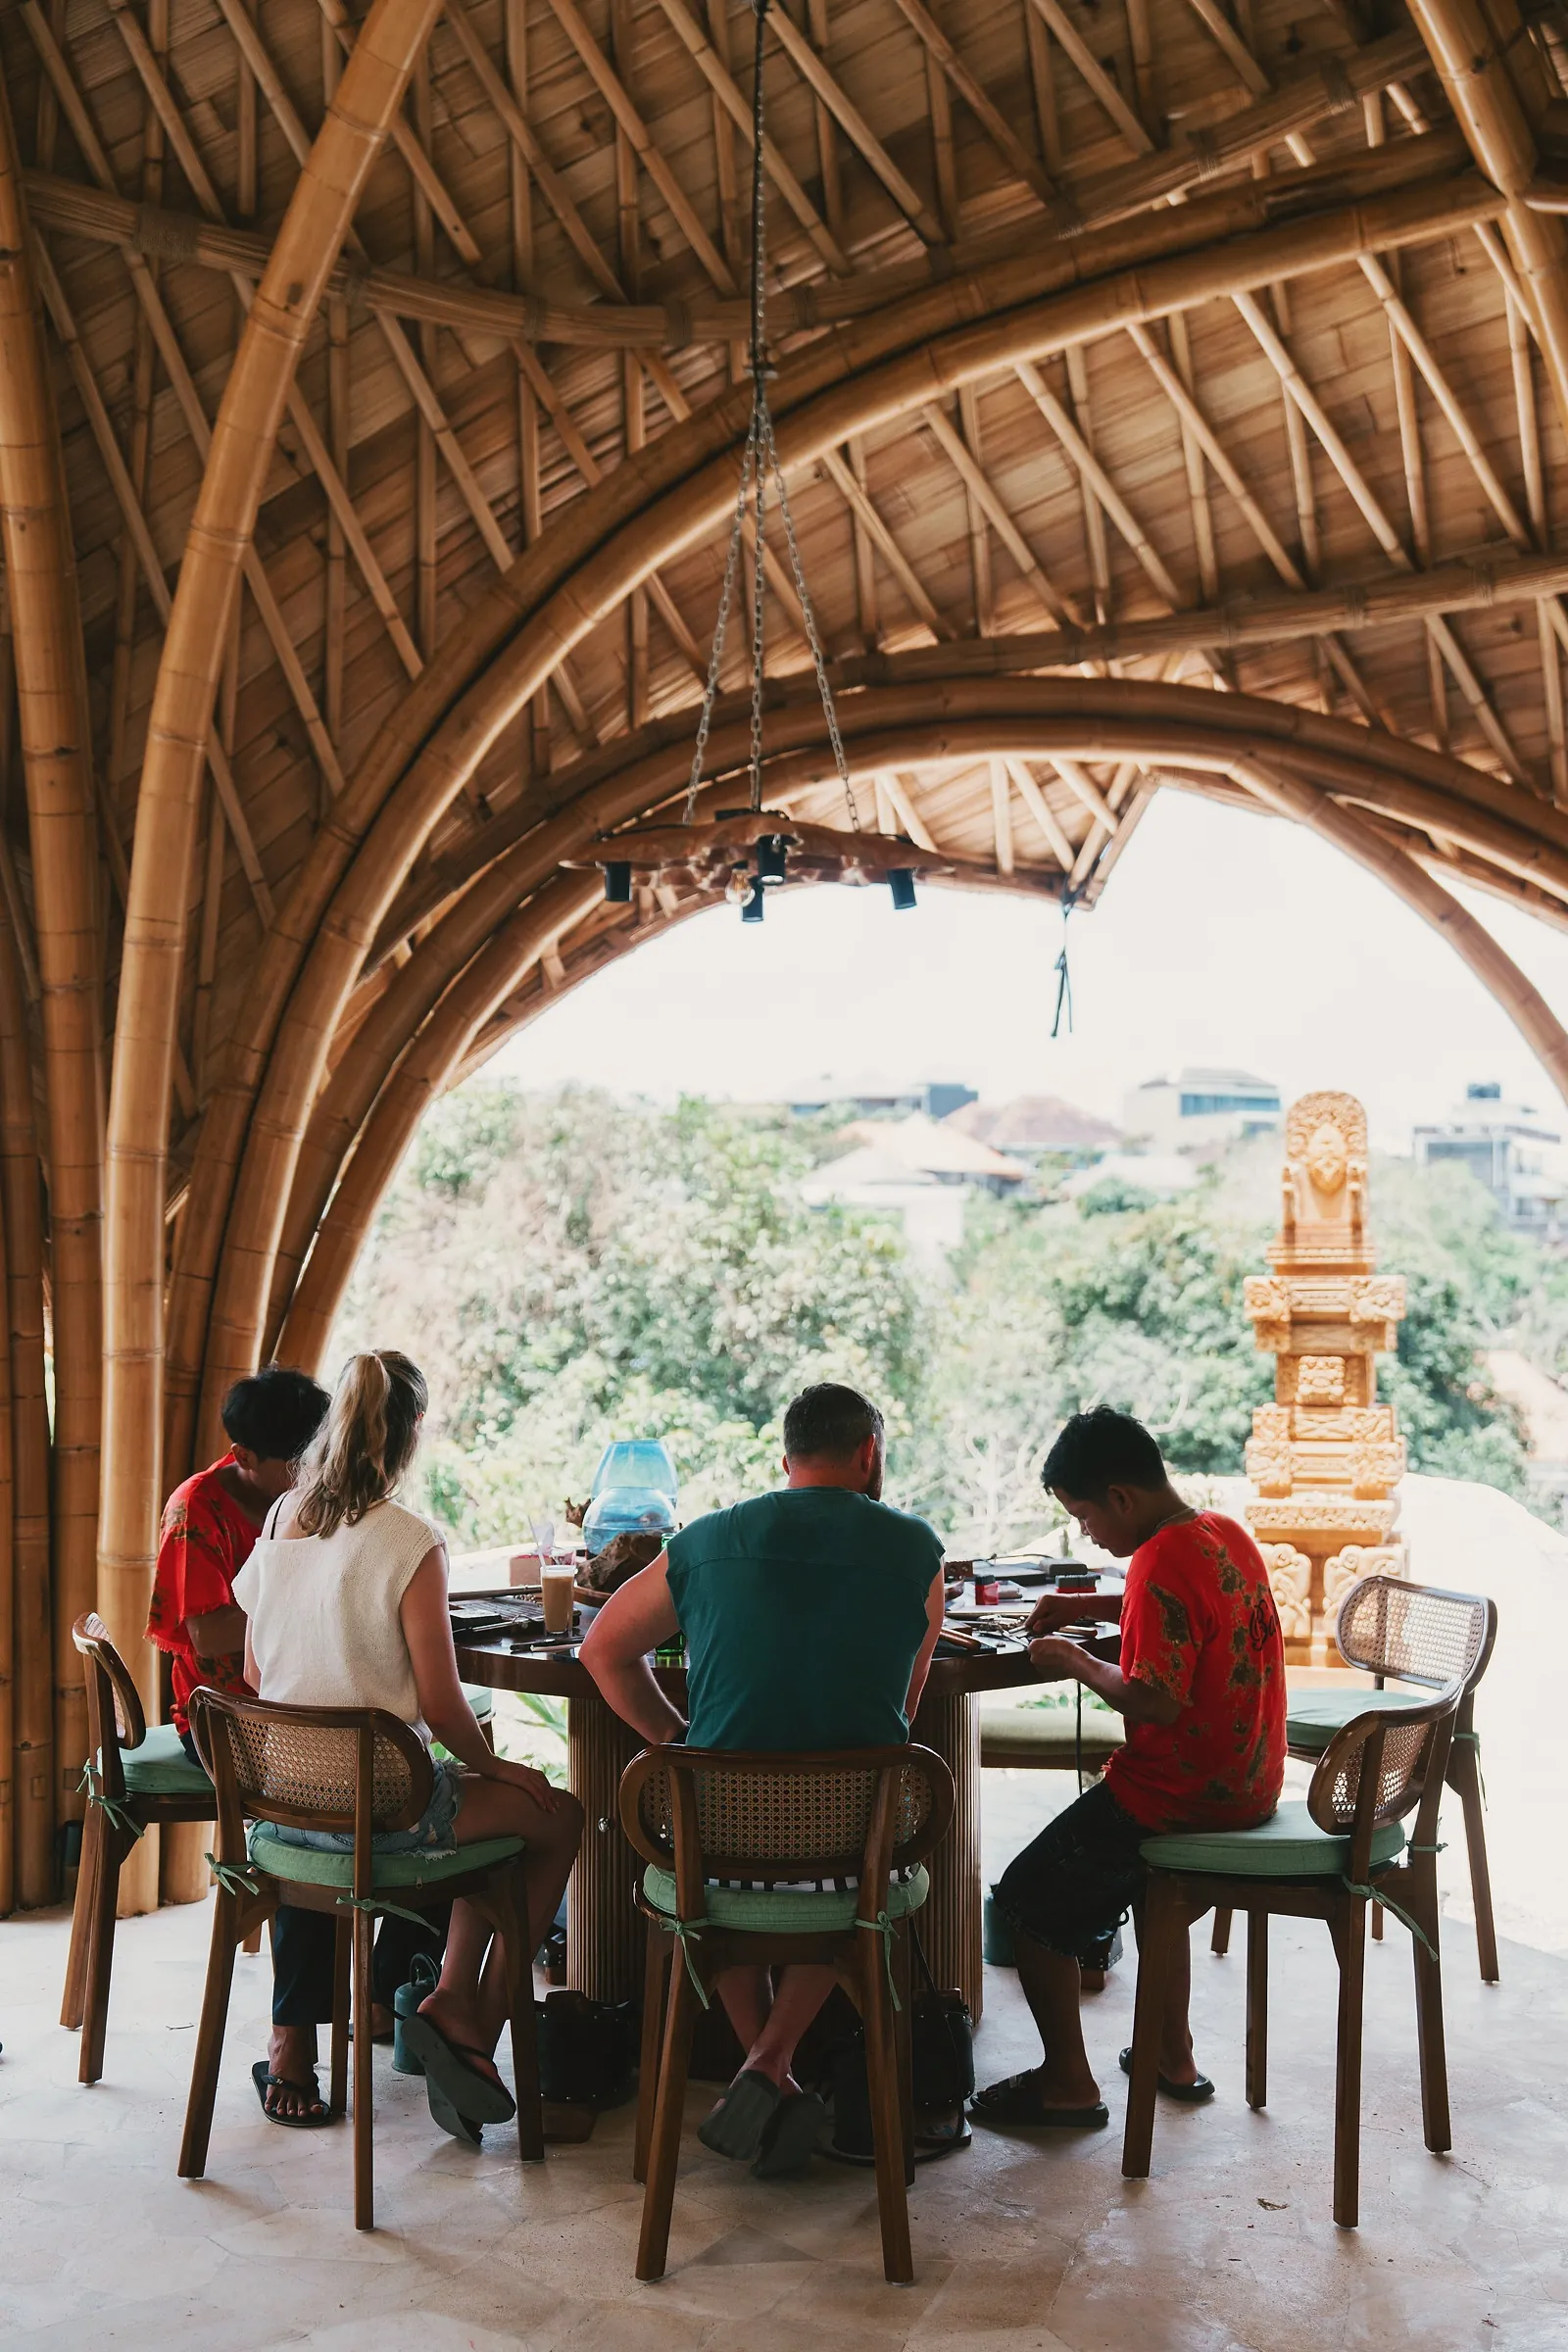
You walk in through a carved candi gate into The House, a Balinese house of woven bamboo halls with a garden and the Peace Gong at the end of the path. The classes take place in the open-air gallery, at round teak benches around a carved guardian pillar. A welcome drink comes first, and so does a short chat about what you would like to make.
Step 1: Design (the First Few Minutes)
Every piece starts on paper. You can:
- sketch your own idea, however rough,
- show a photo of something you like, or
- pick one of the house patterns.
Your silversmith looks at the design with you and adjusts it to the metal you have. In the Silver Class that is one to six grams of pure silver, weighed out for you, which is plenty for a ring, a pendant or two small earrings. If you are making a ring, your finger is measured now so the band is forged to the right size.
Step 2: Fire and Grain
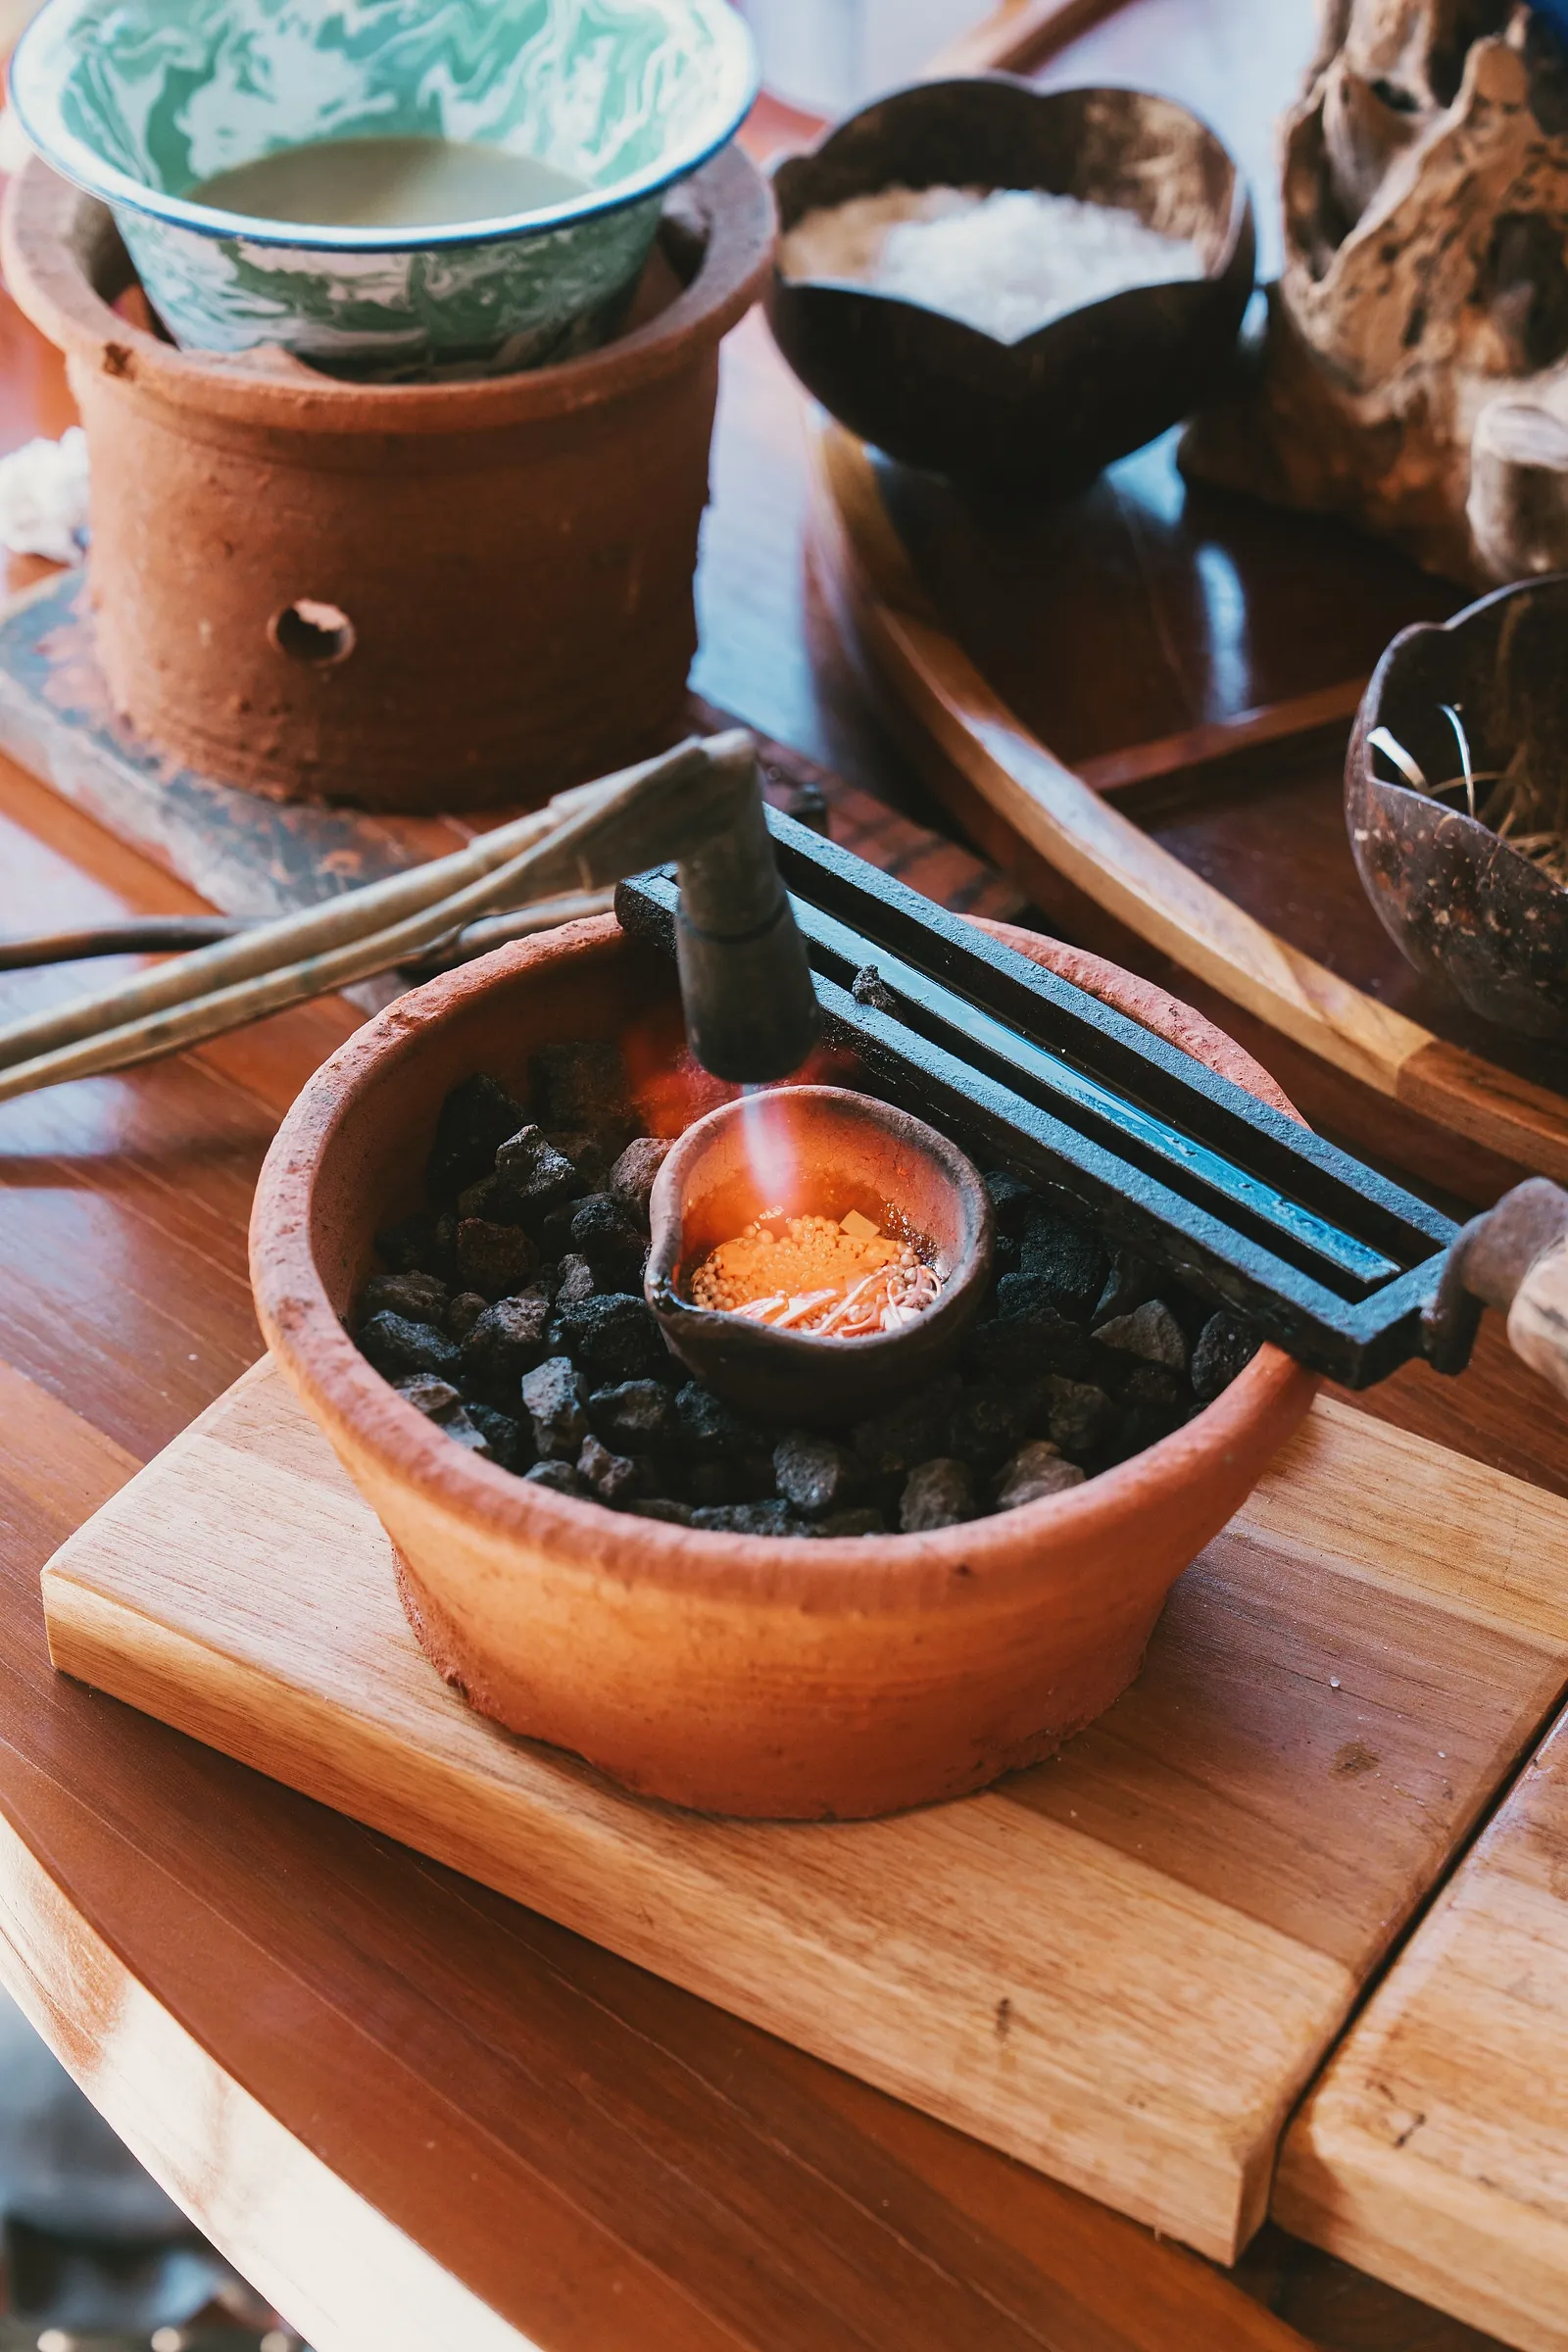
This is the part people remember. The silver grain goes into a small crucible over charcoal, the torch is lit, and the grains collapse into one bright, liquid drop. It is poured, cooled and then rolled through the mill, pass after pass, into a strip or wire you can work.
Your silversmith runs the torch at this stage, and you can take over as much as you feel comfortable with. Our team is happy to film this moment on your phone.
Step 3: Saw, Shape and Solder
With the strip ready, the work becomes hands-on:
- Mark and saw. You measure the length for your ring and cut it with a fine jeweler's saw. It takes a steady hand rather than strength.
- Texture and stamp. If you want initials, a date, a small symbol or a hammered surface, now is the time. Stamping is easier while the metal is still flat.
- Bend on the mandrel. You curve the strip around a steel ring mandrel with a mallet until the ends meet.
- Solder the join. A small piece of solder goes on the seam, and the flame draws it into the join. Silver hardens as you work it, so your silversmith also shows you how to soften it with heat along the way.
Step 4: File, Sand and Polish
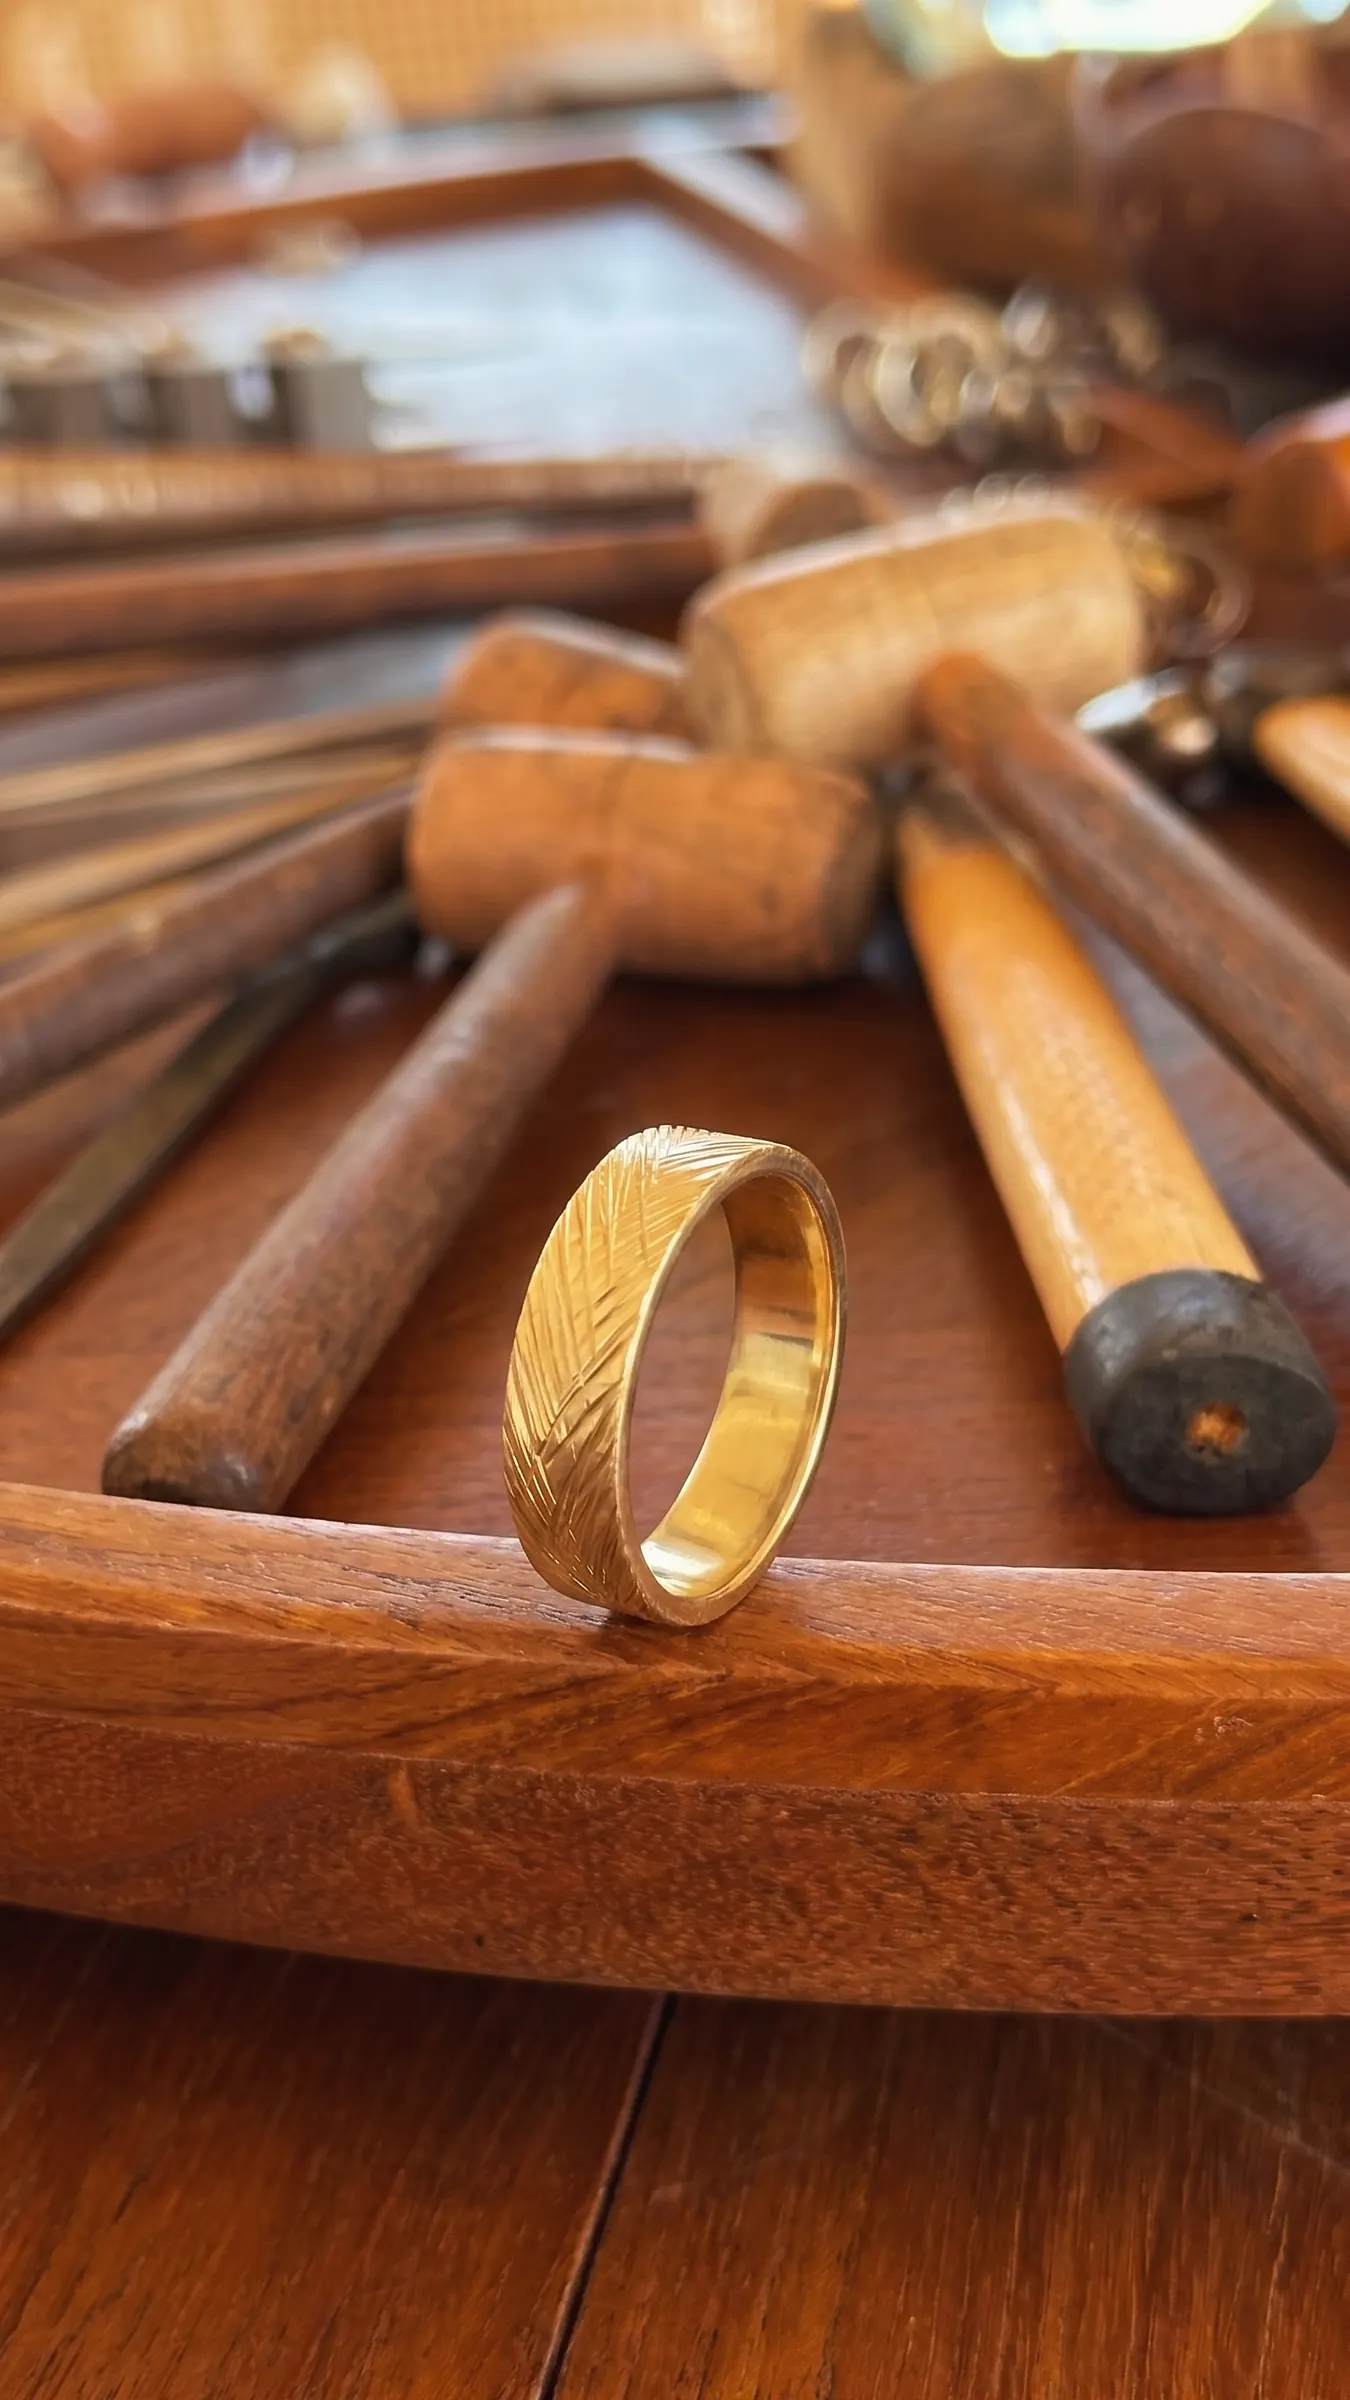
The last stretch turns a rough band into jewelry. You file away the seam, work through finer and finer sandpaper, and then hold the piece against the polishing wheel. Dull metal turns to a mirror finish in seconds. The ring goes on your finger, and you wear it home the same day. To keep it bright afterwards, see how to clean a silver ring at home.
If you would like to set a stone, the studio tray has gemstones from Rp 200.000; see the gemstones page for the choice and how hard each stone is.
How Long It Takes and What Is Included
- Time: one to two hours, depending on your design.
- Hours: every day, start a day class any time between 9 AM and 5 PM, or join the night class from 5.30 PM to 10 PM.
- Included: 1–6 g of pure silver, every tool of the bench, a silversmith beside you and a welcome drink.
- Price: Rp 650.000 per person for the Silver Class. Couples can book the Couple Silver Class (Rp 1.250.000 per couple, engraving inside included), and first-timers or children often start with the Brass Jewelry Workshop (Rp 500.000 per person, gold plating included).
- Extras: extra silver Rp 85.000 per gram, gold plating on silver Rp 250.000.
Tips for Your First Class
- You do not need to be "creative". A simple band you made yourself is the most popular piece in the studio for a reason.
- Wear comfortable clothes and tie back long hair. You will sit at a bench with small tools and a flame nearby.
- Bring your phone. Besides the bench, The House has four photo spots, and the team will take pictures for you.
- Stay for something to eat. The House Café is open daily from 9 AM to 10 PM for breakfast, lunch and dinner, and the Ultimate Package combines the Silver Class with any dish and any drink.
Why a Class Instead of a Shop?
You can buy Balinese silver almost anywhere on the island. Making it yourself is different: you know every mark on it, you remember the afternoon you made it, and it fits because it was forged to your finger. That is what most guests mention afterwards, more than the metal itself.
Frequently Asked Questions
What happens in a silver jewelry class in Bali?
You design a piece, melt and roll pure silver into a strip, then saw, shape, solder and polish it into a finished ring, pendant or earrings, guided one-to-one by a Balinese silversmith. At Bali Jewelry House in Uluwatu the class lasts one to two hours and you wear the piece home the same day.
Is a silver class safe for beginners?
Yes. Your silversmith sits beside you, runs the torch until you are ready, and shows you each tool before you use it. Children are welcome with supervision, and the team handles the flame for them.
What should I wear to a silver class?
Comfortable clothes you can move your hands in, with long hair tied back. There is no special dress code.
Can I make something other than a ring?
Yes. Pendants, earrings and simple bracelets are made every day. Larger designs can add extra silver at Rp 85.000 per gram.